
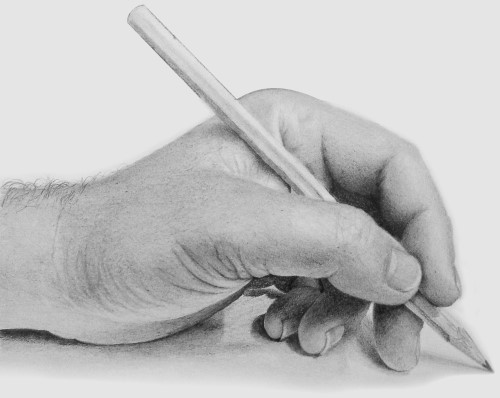
Learn to Draw like a
Master Artist
With over 42 hours of easy to follow training videos This step by step instruction will have you drawing better than you ever imagined possible.
Comprehensive Lessons
Each 2 hour lesson leaves nothing to the imagination. All explained in plain, easy to follow English.
Watch Anywhere, Any Time
Lifetime Access to all the classes means you can watch them over and over, as often as you like.
Watch on Any Device
Whether you are on PC, Mac, tablet or phone, you have access to your classes.
Learning to draw is supposed to be difficult
When I was growing up I always thought that you needed natural artistic ability to be able to draw, so I never even tried. Years later I wanted to start a business so ended up needing someone to design a logo for me. At the time I lived in a small town and couldn’t find anybody to do it for me. Out of frustration I drew my own logo. It wasn’t great by any stretch of the imagination, but it somehow ignited a spark in me – I wanted to be able to draw. Just like something sparked in you at some point. I then set out to learn the secrets of the masters. Moving from one drawing course to the next. If I was lucky to get a good instructor I got a little bit better. More often than not though the tutors just let you do your own thing – you had to find the “artist inside” yourself.
Suddenly it was like a light was switched on
Then one day as I was sitting at the dining room table struggling with a drawing it suddenly struck me. I finally knew what the problem was. I knew why I wasn’t getting any better. I was drawing, but I didn’t understand what I was drawing. From that point on I spent all my time trying to understand what I was doing. No more monkey see, monkey do drawings for me. In a short space of time my drawings went from this:

to this:

now, with a bit more practice under the belt, my drawings look like this:
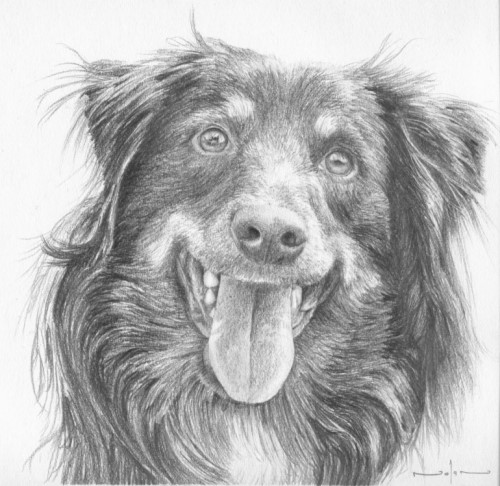
You can also draw like this
Let me show you how to draw absolutely anything you want by understanding what you are drawing. I will take you from the very beginning with what equipment you need in order to draw successfully, all the way through to drawing hyper realistic portraits.
but it won't take forever to learn
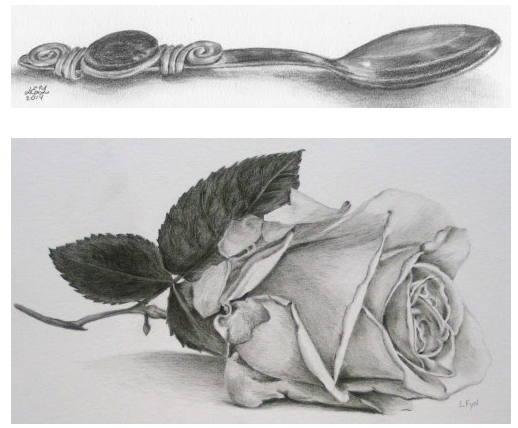
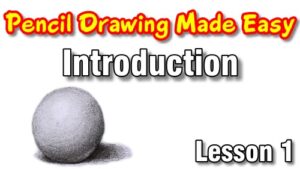
It took me years because I had to learn by trail and error. I will show you what I wish I knew at the beginning. In your first class I will show you what equipment you need and we will get a feel for our pencils. Even your very first full drawing will be gallery quality. This is the stunning drawing you will complete in your second class, after I have shown you how to see your tonal values correctly:

You will be amazed at how quickly you progress
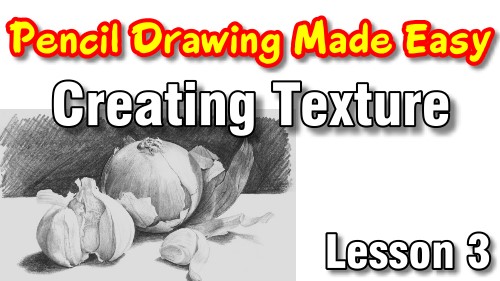
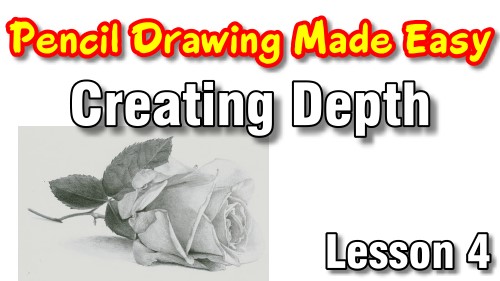
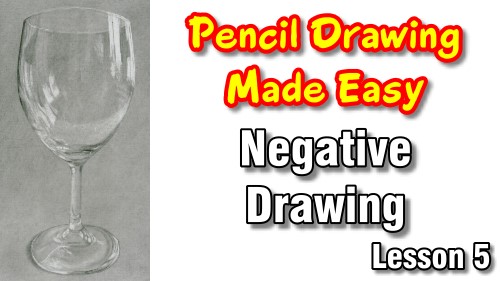
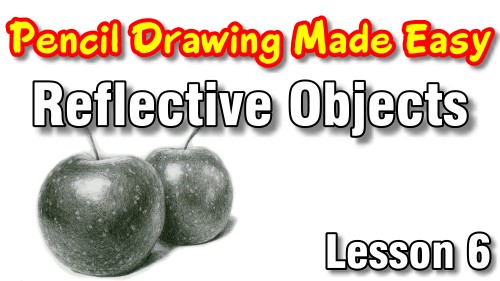
Over the next 4 modules we will cover topics like shading, texture, negative drawing and reflections. The way you will learn however is not with any heavy classroom stuff. I hate that just as much as you do. In each lesson we will spend a few minutes looking at the core concepts and dive right in and learn the meaningful way, the way that makes sense and lets you remember it forever – by doing an actual drawing. Hands on, step by step. Except this time at the end of the class you will understand what you have done. For example, if we are learning about texture and we are drawing the onions and garlic scene. I will explain what to look out for, show you how to render the texture itself and show you where possible problem areas are and how to find them. In other words by the end of the class you will be able to set up your own unique arrangement containing onions and garlic and be able to confidently draw it. Unlike other classes that just teach you to draw that one specific picture.
Draw along in each class
Each class has been professionally filmed in real time so you can pack out your pencils for each class and actually draw along too.
No matter where you are
As each class has been filmed using the latest technology you can watch the classes in front of your computer, or from your tablet in the studio, or even review a class on your phone in the train on the way to work.
in Full High Definition quality
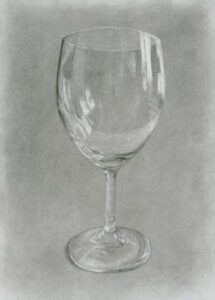
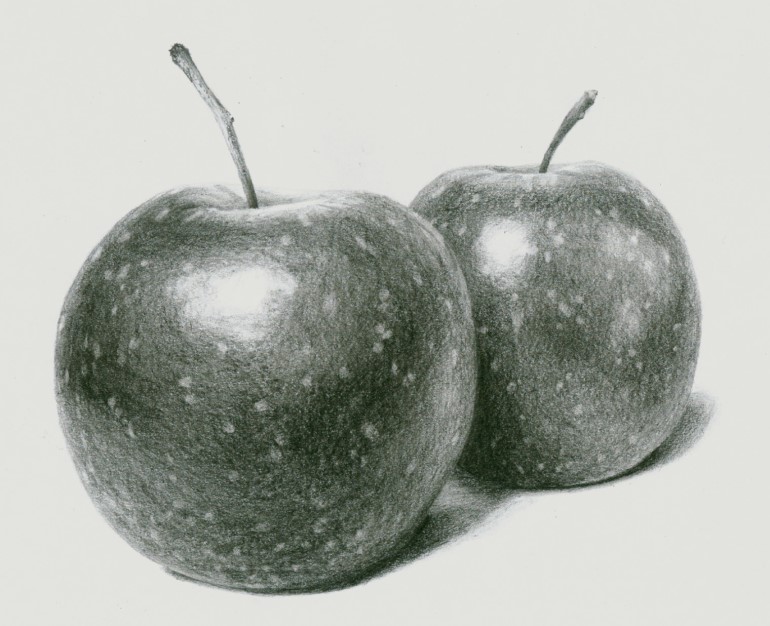
Each class is available in a variety of qualities to suit your Internet connection speed and bandwidth allowance. You can set the quality of each class up for better quality, or down for lower bandwidth usage at any time during the class. After the spoon class, you will move on to draw these pencil studies:
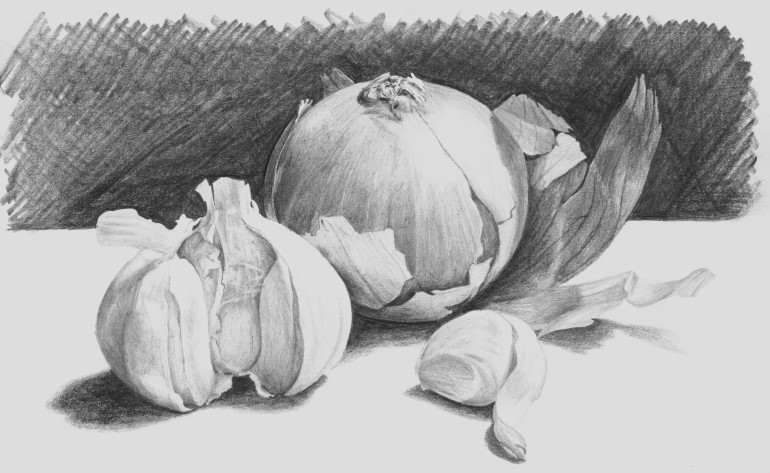
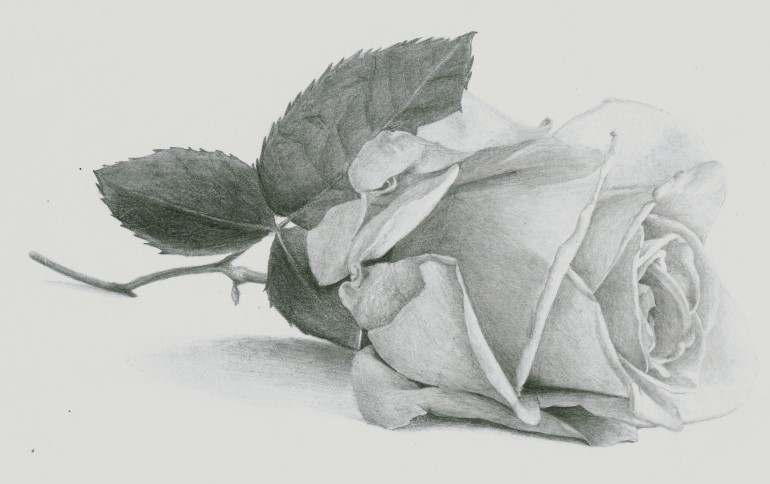
You won't believe your eyes
After the first six modules of the course, you won’t believe how quickly you have progressed and the quality of the work you have produced – now would be a good time to amaze your family with your new found artistic talent. You will probably even get a few commissions along the way.
Then you will learn how to draw realistic portraits
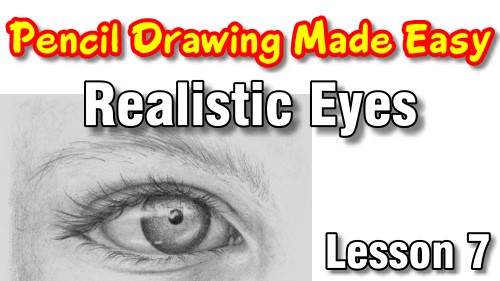
With your drawing confidence at a new found high it is time to take your ability to the next level by learning how to draw portraits. As with the previous classes you are never thrown into the deep end. We will start off with the easiest feature to draw, the eyes.
How to draw realistic eyes
In this class you will learn how to shade the different features of the eye. You will learn how to make the eye look glossy and wet, how to make the eye look recessed into the eye socket, how to draw realistic eyelashes and eyebrows, etc. By the end of the class you will confidently be able to draw any eye, no matter what colour it is, no matter which direction the person is looking in because you will understand how each element of the eye fits together and how they affect each other.
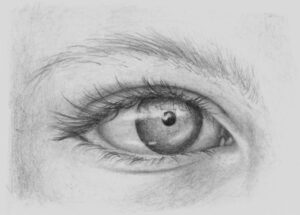
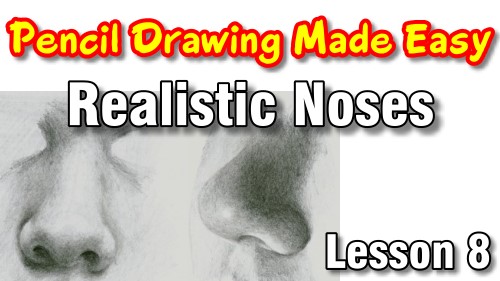
How to draw realistic noses
In the nose class you will learn about the subtle little shadings and reflections you need to look out for while drawing. These make the difference between a realistic looking nose and a flat boring one. You will learn how to make the nose appear as though it is raised up off the sheet of paper. By the end of the class, you will be able to draw any nose, at any angle, under any lighting situation because you will understand the mechanics of the nose and how the light affects it.
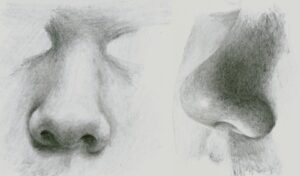
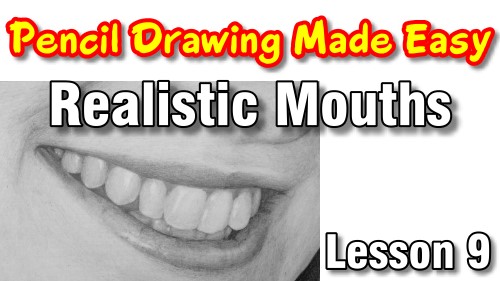
How to draw realistic mouths
During the mouth class you will learn about the different components of the mouth and what to look out for which drawing them. You will learn how to make the lips look realistic, including the cracks in the lips that everybody battles with. You will learn how to make the teeth look sparkly and white. You will even learn how easy it is to show super fine detail like the reflections on the teeth. After the class you will be able to draw any mouth, whether it is closed, open, smiling, shouting, etc. because you will understand what you are drawing and know where the problem areas are and how to avoid them
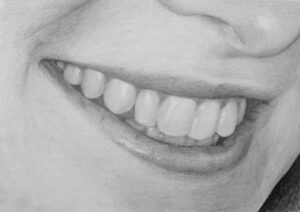
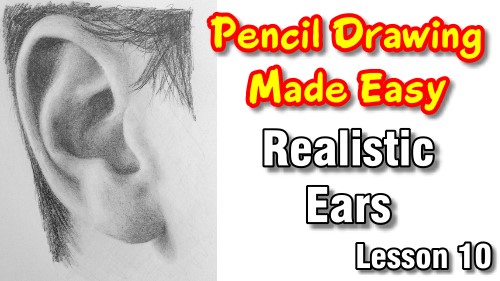
How to draw realistic ears
Drawing ears is an area that most artists avoid because they really battle with them. In this class you will learn about the six different areas of the ear and how to draw each realistically. After this class you will not be shy to ask your model to turn their head sideways as drawing ears will be a breeze. You will know where the problem areas are and how to avoid them and you will know how to make the ear stand out off the face so that it looks three dimensional.

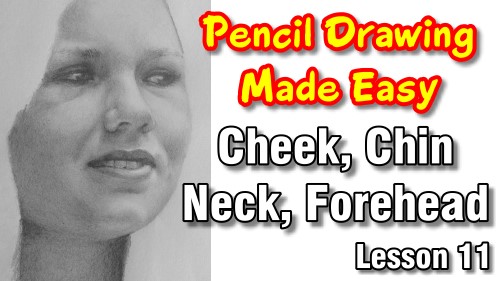
How to draw cheeks, chins, foreheads & necks
Most portrait courses stop after showing you how to draw the five main features of the face. Leaving you to figure out how to tie all them all together. We will continue on by learning how all the features of the face fit together. You will learn how to draw frown lines on the forehead and add a dimple on the chin. You will learn one of the most important, yet never mentioned features of the face – the neck. If you don’t draw the neck correctly, the entire face looks flat, no matter how well you have drawn the face itself.
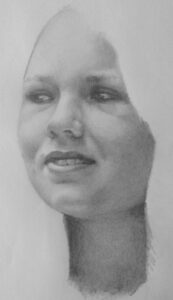
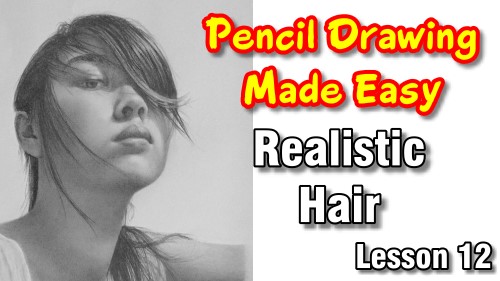
How to draw realistic hair
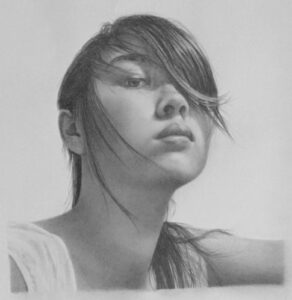
The next module focuses on how to draw realistic hair. In this module you will learn how to draw straight hair, curly hair, light hair as well as dark hair. You will learn how to create the impression that you have drawn every single strand of hair without actually having to do so. You will learn how to create depth, show the sunlit highlights on the hair, as well how to make the hair appear as though it is receding away from you around the back of the head. You will also learn how to ensure the hair doesn’t end up looking like a loose wig on top of the person’s head. At the end of the class you will be able to confidently draw anybody’s hair because you will understand what you are drawing and what to look out for with each person.
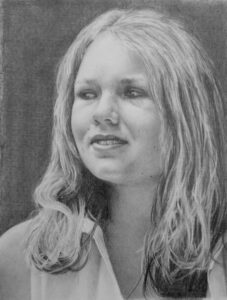
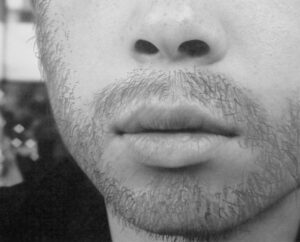
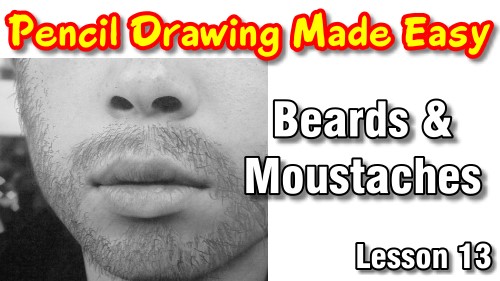
How to draw realistic beards
Any portrait course would be incomplete without teaching you how to draw beards. In this lesson you will learn how to draw stubble, short beards, long beards and even grey beards. You are going to be amazed at the easy technique used to do this. Here is just one of the beards you will learn to draw during this lesson:
but don't take my word for it
this is what existing students have produced while following the course and what they have to say about the course.
Doina
Don't Miss Out On this Amazing Opportunity to Improve Your Drawing Skills
When you purchase the course you will get instant access to all the classes and all the bonuses.
You Could be Drawing Your First Lesson in 5 Minutes Time

This is What You Get in the Course

Plus I'll throw in a Bunch of Awesome Bonuses
Order today and I’ll add these extra bonuses into the deal, saving you an extra $56 :
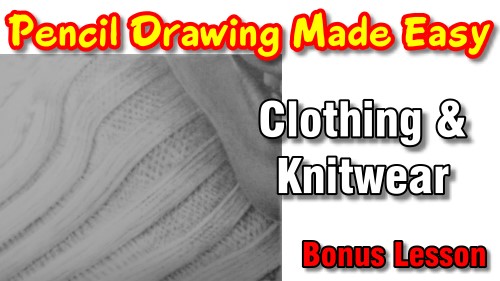
This is a two in one lesson. In the first part you will learn how to draw clothing, drapery and any other material texture, including fluffy jackets. You will learn how to create the folds and show depth in the fabric. The second part of the lesson shows you how to create knitted textures typically found in jerseys and cardigans easily, yet still 100% realistic.
Artists usually avoid drawing hands like the plague because they are so difficult to draw. In this module you will learn my secrets on how to draw ANY hand so that it looks like a photograph. After this class you will be able to draw your own hand, and you will actually recognise it!!!
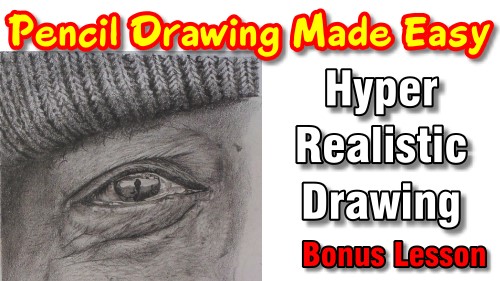

This module is a real bumper lesson. In the class I answer and help with the most common problems encountered by the students of the course, so the lesson is not only practical, but relevant to the work you have been doing. I show you how to fix the common problems ON the actual student’s drawings so you can see how it is done. Then I also do a demonstration showing the closely guarded secrets, used by the master artists you see on the internet, to draw hyper realistic portraits. This info has never been shared before.
As an added bonus I will add downloadable pdf templates onto each lesson, including the bonus lessons. You can then use these templates to transfer the drawing outlines accurately to your drawing paper without having to struggle with grids or proportional dividers. I will also add a high quality exact size reference photo of the subject we are drawing to each module as well as a photo of the final drawing. That way you can reference my final drawing and the photo at exactly the same size as your drawing while you are working. As the photos are high quality you will also be able to zoom in on them to see the finer detail directly off your computer screen
And While I Am At It...
Let’s add a whole course on how to draw realistic birds as well :
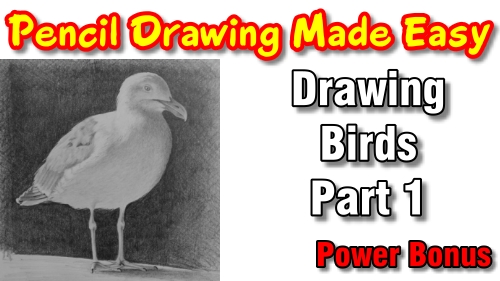
In part 1 of the drawing birds class you will learn the basic techniques used to draw the feathers. During this class you will draw a beautiful seagull which will set you on a solid foundation for the rest of the course.
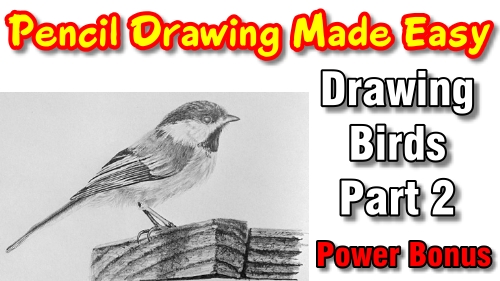
In part 2 of the drawing birds course you take your basic knowledge of drawing feathers and build on it. You will learn how to draw feathers in fine detail as well as how to draw complex feather patterns.
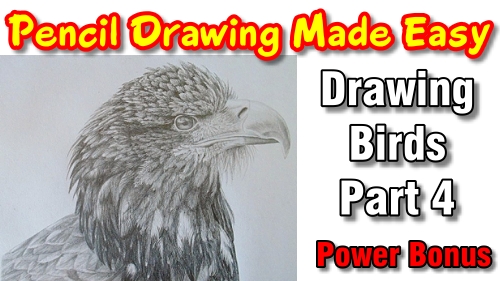
Next we move on to the most majestic of all the birds – an Eagle. As we want to be able to draw the bird in as much detail as possible, this is a two part class. In this class we draw the upper part of the bird. You will learn how to draw the eye, beak as well as the crown realistically.
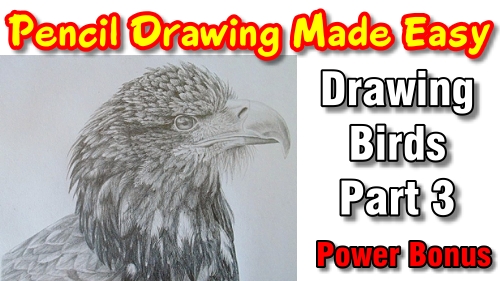
We complete the course on drawing realistic birds by drawing the rest of the Eagle. In this class you will learn how to show the larger head feathers in brilliant detail without having to spend hours drawing every hair on every feather. You will then also learn how to draw the flat feathers on the body.
Don't Miss Out On this Amazing Opportunity to Improve Your Drawing Skills
When you purchase the course you will get instant access to all the classes and all the bonuses.
You Could be Drawing Your First Lesson in 5 Minutes Time

Frequently Asked Questions about the course
I have never drawn before, is this course suitable for me?
Absolutely. I take you from the very beginning and build your ability up with each class. Each class is specially designed to become progressively more advanced in order to not overwhelm you.
What equipment will I need for the course?
An equipment list is given in the first video, but here it is again: Set of drawing pencils containing – 2H, H, HB, 2B, 4B, then a 6B or 8B pencil. A soft eraser and kneaded eraser. Drawing paper. All these can be bought online or at any good stationary store.
What format is the course?
The course videos are online videos which you can watch on the site at any time as often as you like. The pdfs are downloadable ebooks and not printed books. In order to view the pdfs you will need to install the free pdf viewer for Adobe.
What do I need to access the course?
You will need a modern browser like Firefox or Google Chrome. If you can watch online videos, like Youtube videos, then your device has the ability to play the class videos. For the pdfs your device will need a pdf reader. On computer you can download a free pdf reader from the Adobe website. For mobile devices you can do a search for “free pdf reader” in your app store.
Are the payments secure?
Absolutely, we use the biggest online payment provider on the net, Clickbank, to process our payments. We never see your card details ourselves. You pay Clickbank and they pay us only once we have provided you with the product, so you are well protected.
How long can I access the course for?
You gain lifetime access to the product.
If I am not happy with the course, can I get a refund?
Absolutely. Although I know this is the best course of it’s kind on the Internet, I offer a 60 day money back guarantee on the course.
Here is My Personal Guarantee to You

- 26 Hours of HD Quality Online Video
- plus 16 Hours of Bonus Classes
- giving a total of 42 hours worth of classes
- Bonus downloadable Templates and References
- Mobile Device Friendly
- Instant Access
- Lifetime Access
- 60 Day Money Back Guarantee
Don't Miss Out On this Amazing Opportunity to Improve Your Drawing Skills
When you purchase the course you will get instant access to all the classes and all the bonuses.
You Could be Drawing Your First Lesson in 5 Minutes Time
